
How to Plan a Promotional Products Order for Your Next Event
Plan your event merchandise order with a practical guide to product selection, quantities, budgets, artwork, deadlines, and distribution.
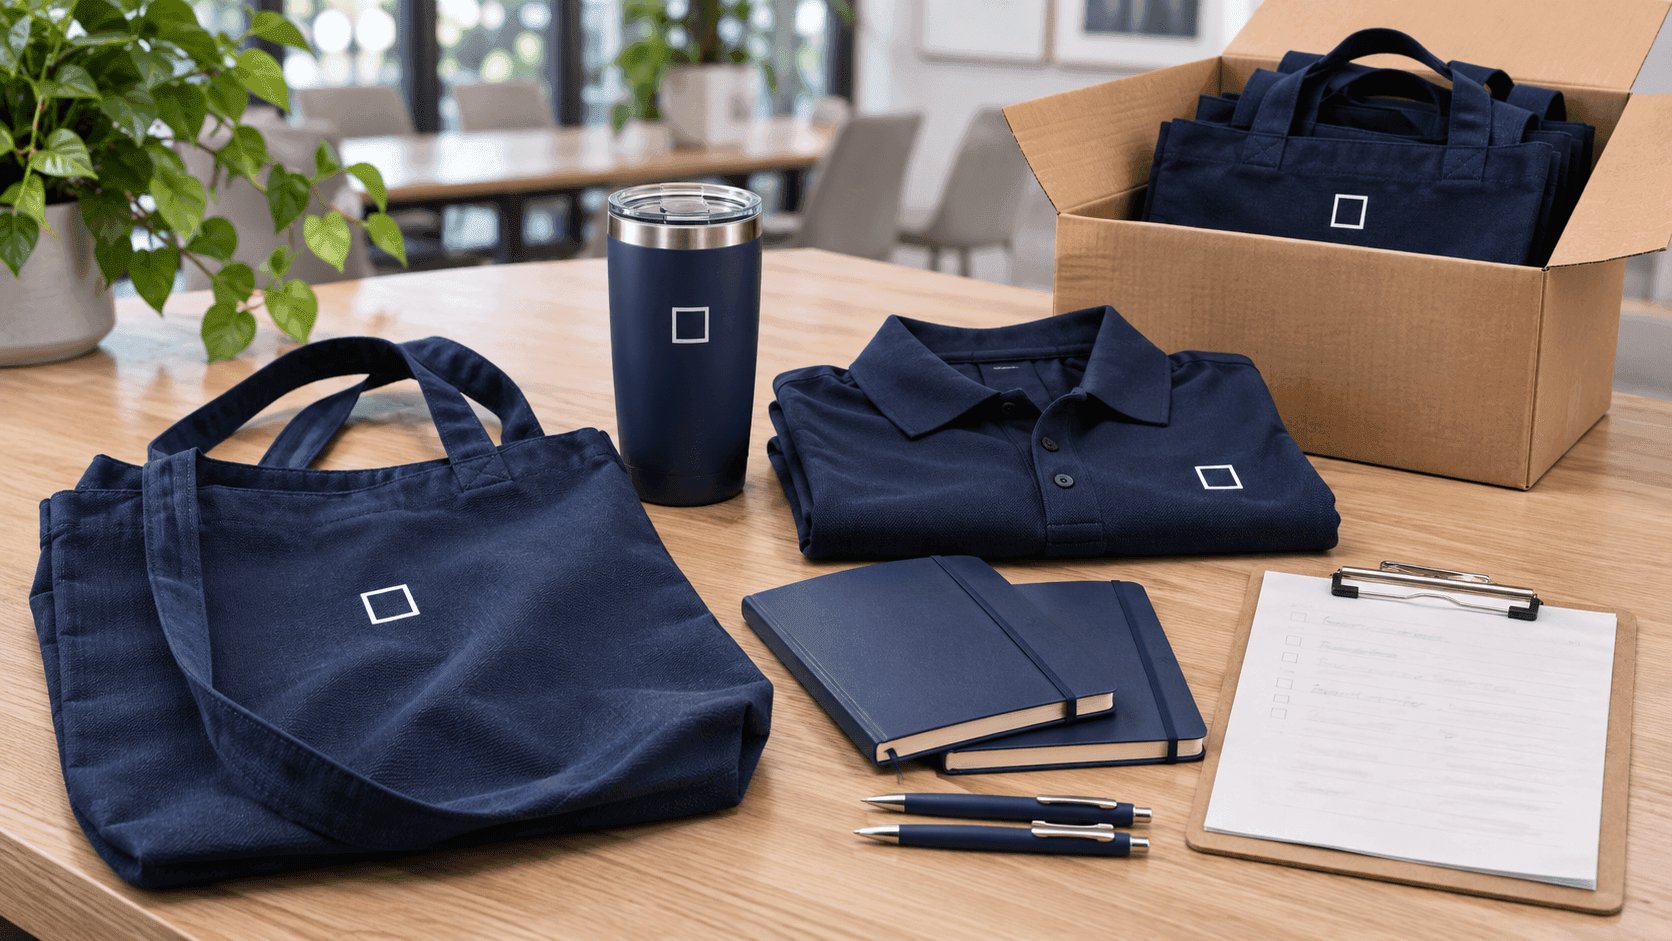
An event date gives your promotional products order a firm deadline. To choose the right merchandise, work backward from that date and decide who the items are for, how they will be distributed, and what you want them to accomplish.
Whether you are preparing for a trade show, school fundraiser, community event, or company gathering, a little planning can help you avoid rushed decisions and products that do not fit the occasion.
Start with the audience and purpose
Before browsing products, write down who will receive them and why.
An employee attending a company meeting has different needs from a visitor stopping at a trade show booth. A volunteer shirt helps people identify event staff, while a customer gift might acknowledge an existing relationship.
Choose a specific purpose for the order:
- Help attendees carry event materials.
- Make staff and volunteers easy to identify.
- Give visitors a useful reminder of your business.
- Thank speakers, customers, or sponsors.
- Support a conversation and an appropriate follow-up.
For example, a tote bag could serve a practical role at an event where attendees collect materials. A notebook might fit a workshop where people will take notes. Choose the product around what recipients will do with it.
Set a budget that covers the complete order
The listed product price may be only part of the cost. Before comparing quotes, confirm what each one includes.
Your budget may need to cover:
- Products and decoration.
- Artwork preparation or setup charges.
- Additional print colors or logo placements.
- Samples, if requested.
- Shipping and any applicable taxes.
- Packaging or assembly.
- Delivery to multiple locations.
Compare quotes using the same quantities, decoration details, and delivery requirements. A lower unit price does not necessarily mean a lower total cost.
If the budget is tight, narrow the selection before sacrificing usefulness. One appropriate item can be easier to distribute and explain than several unrelated giveaways.
Choose quantities around your distribution plan
Expected attendance is a starting point, but it does not automatically determine how many products you need.
Ask whether every attendee will receive an item or whether products are reserved for registered participants, employees, customers, or visitors who take part in a specific activity.
For example, an event expecting 300 visitors might need:
- Apparel for 15 staff members.
- Welcome items for 100 registered participants.
- A separate supply of giveaways for booth conversations.
Use confirmed registrations, previous event experience, and the distribution plan to estimate quantities. Discuss any extra allowance deliberately rather than adding a large buffer by default.
For apparel, collect sizes whenever possible. An accurate total quantity will not help if the size mix does not fit the people wearing it.
Decide what happens to leftovers
Before ordering extras, consider whether the products will still be useful afterward.
An item with a company logo may work for future events. Merchandise printed with a specific date or annual event name may have a shorter useful life.
If you expect to reuse remaining stock, choose artwork and products that support that plan.
Work backward from the date you need the products in hand
Tell your supplier when you need to receive the finished order, including any time required to check, sort, pack, or transport it.
That date may be earlier than the event itself. If your team leaves for a conference on Monday, a delivery to the office on Tuesday will not help.
Allow time for each stage:
- Product selection and availability confirmation.
- Quote review and order approval.
- Artwork preparation and proof approval.
- Production.
- Shipping or pickup.
- Inspection and event preparation.
Production and shipping timelines vary by product, decoration method, quantity, and availability. Confirm the schedule for your specific order before committing to it.
If the event is approaching quickly, share the deadline at the beginning. A focused selection of available products may give you more workable options than choosing an item first and asking about timing afterward.
Prepare your artwork and approval details
Provide the best available version of your logo and explain how you want it used. If you have an original vector file or brand guidelines, include them with your request.
Useful artwork details include:
- The approved logo version.
- Brand colors or color references.
- Preferred placement.
- Whether the design needs to work on light or dark products.
- Any event name, date, website address, or other required text.
A design that looks clear on a large screen may be difficult to read on a pen or a small embroidered area. Ask how the artwork will translate to the selected product and decoration method.
Review the proof carefully. Check spelling, dates, phone numbers, URLs, logo proportions, placement, and the selected product color. Assign one person to provide final approval so conflicting feedback does not delay the order.
If you include a QR code, test it at the intended size before approving production. Use a destination you can maintain after the event, and make sure it works well on a phone.
Plan distribution and follow-up before the event
Decide who will receive the shipment, inspect the order, and get the products to the right place.
For a larger event, it may help to separate staff apparel, participant items, and customer gifts before arrival. Clearly labeled boxes can make setup easier and reduce the need to search through merchandise during the event.
If the products support marketing or sales conversations, give your team a clear next step. That might be sharing a relevant resource, inviting a consultation, or asking permission to follow up.
Measure results according to the original purpose. Useful observations might include:
- How many items were distributed.
- Which products attendees chose or used.
- Whether staff had the apparel and sizes they needed.
- Relevant conversations and agreed follow-ups.
- Visits to an event-specific landing page.
- Remaining stock and opportunities to reuse it.
An item handed out or a QR code scanned is not automatically a qualified lead. Keep those measures separate so the results help you plan the next event.
Your promotional products order checklist
Before requesting a quote, gather these details:
- Event: What is the occasion, and where will it take place?
- Audience: Who will receive or wear the products?
- Purpose: What should the merchandise help you accomplish?
- Quantity: How many items do you need, and how was that estimate calculated?
- Budget: What is the total available budget, including decoration and delivery?
- Artwork: Which logo, colors, placement, and event details are approved?
- Deadline: When must the finished products be in your hands?
- Delivery: Where should the order go, and who will receive it?
- Approval: Who can approve the quote and artwork?
- Distribution: How will the products reach attendees, staff, or customers?
You do not need every product decision finalized before asking for help. A clear audience, budget, quantity estimate, and deadline give your supplier a useful starting point.
Blue Square Branding helps businesses, schools, and organizations explore custom promotional products for events and ongoing programs. If you are planning an upcoming order, tell us about your project, including your event date and when you need the products delivered.
Start with the event’s purpose, choose merchandise that fits the audience, and confirm the details before production. Afterward, record what worked and what you would change so the next order is easier to plan.